The steel roofing is changing the manner in which we shield our homes and companies as unbeatable and with a sleek, modern appearance. Suppose you had a roof that can resist heavy rain, sunbaking sun and years of wear, and that will enhance the curb appeal of your property, and increase your energy efficiency. Being a do-it-yourself type or you just want an impeccable job fully developed but not the trouble, read these steps and secrets of how to install metal roofing and you will save both time and money, and headaches.
Get ready to discover how easy it can be to upgrade to steel roofing, with tips that work for beginners and pros alike. Stick around, we’re about to break down everything you need for a roof that lasts a lifetime
Key Steps in Installing a Metal Roof
The installation process of the metal roofing is not so complicated, although each step should be attended to. Here’s what you’ll tackle:
Preparing Your Roof for Metal Installation
- Remove other old roofing stuff like shingles, nails, and debris in order to have a clean roof.
- Check the roof deck, tight spots and boards, and replace the ruined plywood and boards to have a stable base.
- Lay down a good quality underlay, preferably synthetic or felt paper, to have a waterproof barrier against leakage.
- Install drip edges and fit metal flashings around the key points such as valleys, chimneys and eaves, so as to increase protection against water infiltration.
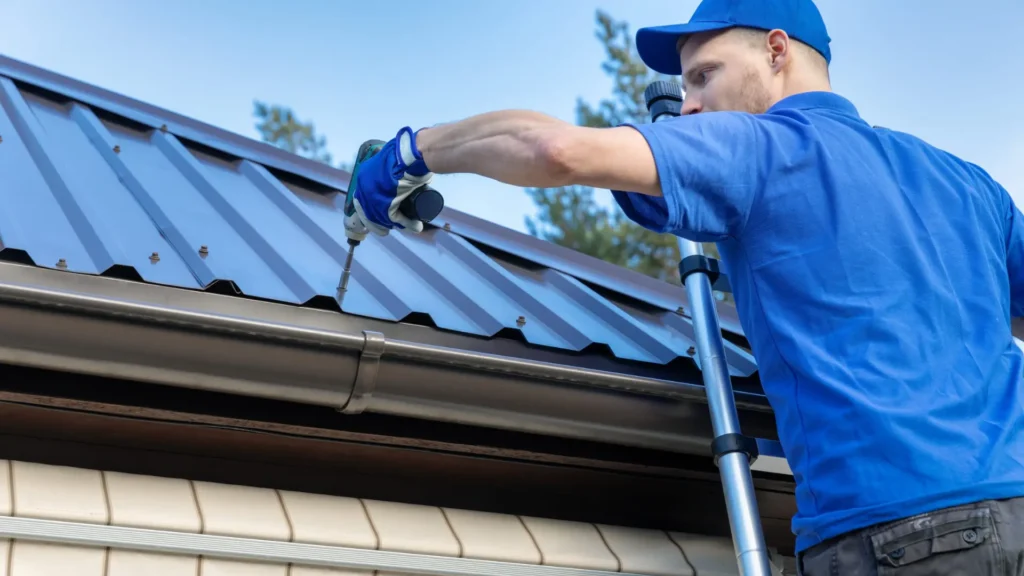
Attaching the Metal Roofing Panels
- Measure your roof and work out where you want to place your panel; obtain chalk lines that define where the panels are going to be placed.
- Install metal roof panels and start at the bottom of the roof (the eaves), then go up systematically.
- Install one metal panel on top of the last panel as per the advice given by the manufacturer to fit in a safe and dry manner.
Essential Parts Needed for a Metal Roof Installation
The proper roof installation of a steel roof successfully implies the proper presence of tools and materials. Being ready will transform the process into be easy and effective one.
Common Materials for Installing Metal Roofing
- Steel Roof Panels: Corrugated, standing seam, or ribbed. Purchase steel roof panels depending on your choice of roof design and preference.
- Underlayment: This is a waterproof material that serves as a barrier against leakage, which is very critical.
- Fasteners: Special Screws or nails designed to be used in roofing made out of metal, typically galvanized or stainless steel, to prevent rust.
- Sealant and Tape: This is applied to disguise the joins, edges and flashing points to ensure that water is kept out.
- Ridge Caps and Flashings: These are necessary in the process of waterproofing roof peaks, hips, valleys, among other joints on the roof.
Understanding the Metal Roof Construction Components
- Panels: Consider the main exterior shield as the source of protection for the roof.
- Eave Trims & Drip Edges: These are placed around the roof edges in order to move away water and avoid decay.
- Valley & Hip Flashings: Cover areas where roof surfaces meet at angles to ensure water tightness.
Tools and Fasteners Required for Steel Roofing Installation
- A twin screwdriver or fastener drill screwdriver is used effectively.
- Metal snips or specialised metal tools are designed to cut the panels when necessary.
- Calibration of tape and chalk line to be used to achieve precision in laying out panels.
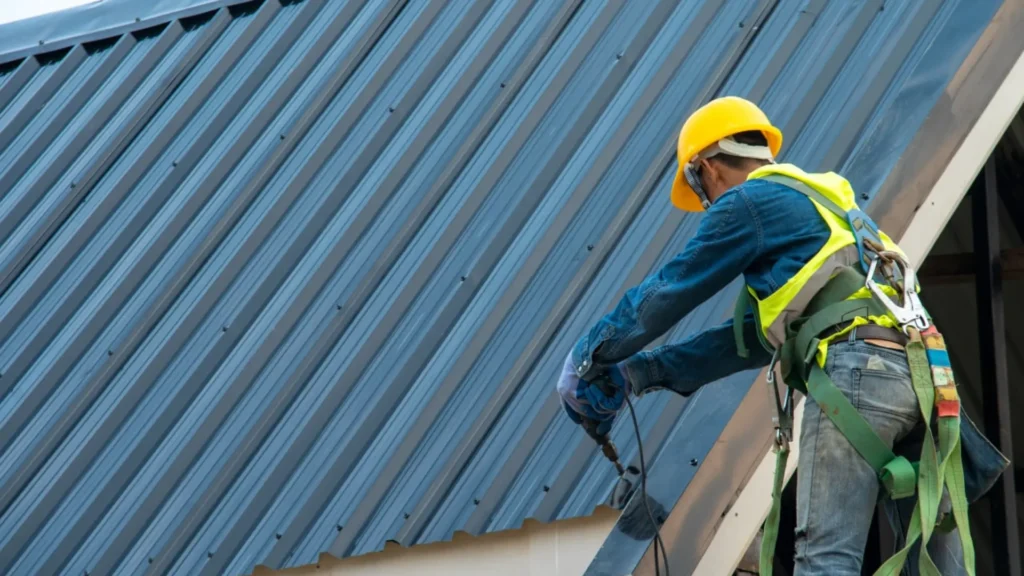
- Ladder and adequate safety gear to be able to work at the heights safely.
- Grommets or washers of rubber that are used to close holes in fasteners to prevent leakage.
The Best Way to Install Metal Roofing
For a roof that stands the test of time, installing metal roofing like a pro is essential. Here’s how to do it right.
How to Put Up a Metal Roof Like a Professional
- Never perform a task according to manual recommendations, or better to say, deeply read the manual of a particular manufacturer, because not all brands and roof models have identical needs.
- A chalk line and a measuring tape are required to ensure that lines are kept straight and any overlap is consistent so as to net out with a clean, weather-tight finish.
- Redo all fixing of fasteners to make sure that all the panels are tightened and that there is no leakage.
- Be safe, make sure to put on non-slip shoes, use safety harnesses, and install ladders correctly, or an accident may happen.
How to Attach Metal Roofing Panels Securely
- Apply screws and rubber washers to make the neat waterproofing of fasteners.
- Look after all the seals and seal them using a waterproof tape or good-quality caulk to avoid infiltration of water.
- Keep the path of overlaying straight over the leaf, as there should be enough space between to guarantee there is no follow-up, and so enough to cover all up, thus no buckling or scraps of material.
Common Mistakes to Avoid During Metal Roof Installation
- Omitting the underlayment is a source of leakages and damage.
- Over-tightening screws that have the ability to bend or draw in the metals, interfering with the integrity.
- Wrong panel overlaps result in water leaks and ineffective roof performance.
- Failure to consider safety measures will put the project at risk of injuries and delays.
Metal Roof Installation Diagram: A Visual Guide
While having a diagram is incredibly useful, every successful installation comes down to understanding the key components and sequence:
Understanding the Metal Roof Installation Process
- Components Labeled: Understand the manner in which panels, underlayment, flashings and fasteners interact and join with each other on the surface.
- Step-by-Step Sequence: Begin with the installation of the panels at the eaves (lowest point), and continue to add additional panels overlapping with each other to render the panels waterproof, and a finished cap on the roof of the ridge at the top of the roof.
- Fastener Placement Guide: Screws should be located at junctions of panel ribs or at flat locations that have been designated in the plans as points that will be well held so that no leakage is experienced.
How to Follow a Metal Roofing Installation Manual
- Read Before You Start: Numerous specifications, such as the type of screws to use, whether to panel should be horizontal or vertical, and panel overlap directions, differ depending on the product. Always check.
- Keep the Manual On-Site: Follow the Procedures that will be presented to you; yet the guesswork is always costly, and it results in spillage.
DIY Metal Roofing: Is It Possible?
With good prep and patience, installing metal roofing yourself is achievable. Here’s what you’ll need:
Materials Needed for DIY Metal Roof Installation
- Roofing sheet metal and all pieces of trim.
- Underlayment (felt or synthetic)
- Sealing bolts containing rubber stoppers.
- Equipment: Metallic snips, drill, ladders and safety gear.
Tips for Successfully Installing a Metal Roof Yourself
- Saint Mary Two times will spare a slice. Shave once Thou shalt make a slice That shine Thin in a seamy flow.
- Work when the weather is mild and not when there is wind and during hot weather.
- Ordinarily, holes to fit fasteners must be pre-drilled.
- Legal /Hunting Check the guides that your manufacturer gives you before designing a panel.
- Enlist the assistance of a longer or heavier panel to make it safe.
The Complete Metal Roof Installation Guide
The gradual process aids in making the process of installation of the metal roofing correct, efficient, and long-lasting. Follow this and you will have professional-quality results regularly:
Following a Metal Roof Installation Guide for Best Results
- Starting with making all the materials ready. Prepare all the panels, tools, and fasteners in such a way that it does not interfere with the work.
- Prepare buttons and attachments. Group screws, nails, clips and equipment in the specifically designed bins that are easily accessible.
- Hit each step mentioned to the left as you do it. Having a checklist is a sure way of not overlooking important information during installation.
Navigating the Metal Roof Construction Process
- Start at the eaves (the lowest point of the roof) and cross-ways upwards properly shedding off pools of water.
- Properly overlapped secure panels are used and frequencies may be the recommended ones of a manufacturer.
- Apply trims and ridge caps at the very end of the installation; these will find purpose in sealing the joints and edges to be more durable and weather-resistant.
- Finally, ensure that the building is properly installed, completely fitted and generally safe before completing the project.
Conclusion
A great idea to make is a metal roofing, which comes with a superior cost-effectiveness, energy conservation and appeal. Regardless of whether you will do the project or get professionals, the correct steps and materials that are of quality will ensure that the roof has a long-lasting lifespan. To smooth sail, professional installation services, which come with a long time experience, place your trust in the team at Hitchcock Roof and Construction
Make the call today and come get your consultation out of the way so that the first step toward a more beautiful and stronger roof can be made.
FAQ’s
Can I install metal roofing over existing shingles?
Generally, yes, so long as the roof is not creaking or there is danger of collapse otherwise, the metal panels can be teetered on top of the old shingles in the locality (when there is a suitable underlay).
What’s the best underlayment for metal roofing?
Synthetic underlayment is also better in terms of moisture protection and resistance to wear and tear than the standard felt.
How long does installing metal roofing take?
Residential roof installations use a maximum of 1- 3 days to be completed. Larger or complicated roofs might be time-consuming.
Are metal roofs noisy during rain or hail?
Urgent installation, insulation and an attic will maintain noise levels on the same level as the other roof constructs.
Are there any special needs in the maintenance of metal roof?
Cleaning up the roof valleys and checking a loose places regularly maintains metal roofs in good condition for decades.