Vinyl windows are recognized to combine durability, energy-saving, and aesthetic versatility that is why they are popular among homeowners seeking to upgrade their windows. Whether you are doing a complete new construction or a minor home upgrade, installing new construction windows is very important to achieve their advantages. This is the complete tutorial on how to install vinyl windows with tips and tricks to install them like a professional.
The Planning Phase
It is nice to have everything required at the cleared working area before commencing with the installation of the windows in a new structure. These are the simple preparations which must not be undervalued. This way, the working time is not unnecessarily extended when some materials are not where they should be.
Kindly redefine the dimensions of the reveal in the new building construction and compare them with the new window dimensions. This is a mere practice that can stop the issues at an early stage. You should also ensure that surfaces in the reveal are plain and without dust to create an installation that would comply with the regulations of RAL. This will make the seals perfectly cemented on the masonry.
You should also begin to think through a suitable sealing type to add to a later stage of the new window installation. The reveal-frame gap is divided into three levels of varying requirements. It needs to be vapour resistant internally, stuffed with insulating substances at the centre, and open to vapour diffusion at the outside. The revelation of the poor insulation in the framing can affect the glazing U-value and the parts of the construction of the frame. These three sealing levels (inner, middle and outer) can be treated with several insulation materials:
- Inner sealing of a window is done with a vapour resistant foil.
- The middle is sealed with construction foam.
- And the outer sealing with pre-compressed tape or foil.
- Another product that can be offered as an alternative is multifunction sealing tapes, which are tapes that contain the properties required by each of the three levels.
Accurate Measurement: The Secret of a Successful New Window Installation
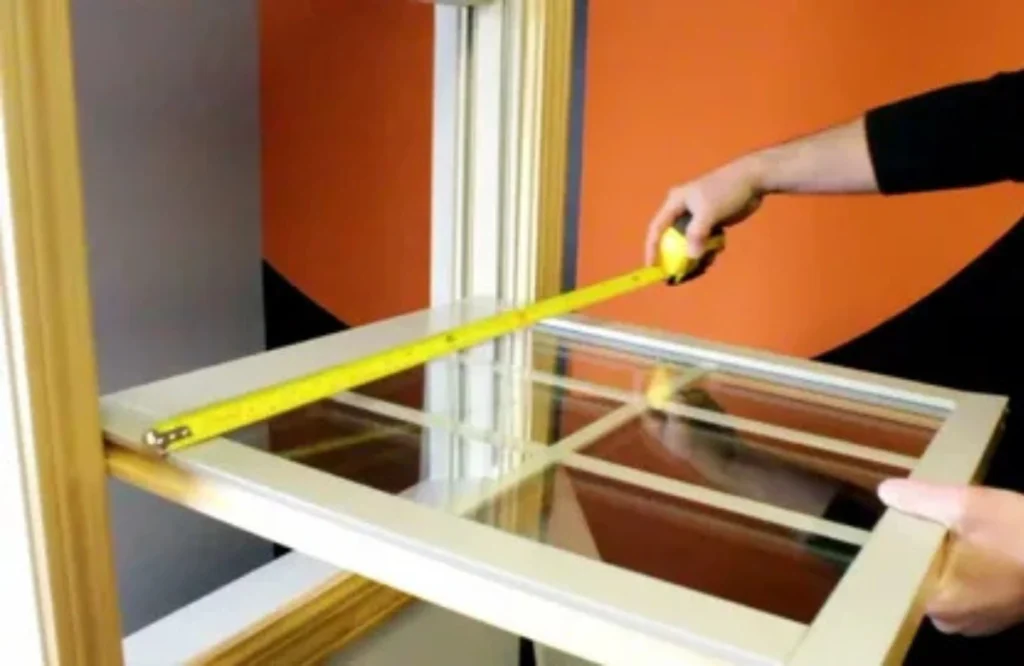
- Precise Measures: Be sure to begin with accurate measures. Take the width and height using several points so as to accommodate any irregularities in the opening. This is essential because the slightest differences may cause major installation and insulation problems.
- Assemble Necessary Tools: Assemble all the tools and materials in advance. Such tools as a tape measure, a level, a screwdriver, a caulking gun, insulation foam, and a power drill might be commonly required.
Stepwise Process of Installing Vinyl Windows
- Removal of Old Windows: It is always recommended to take the old windows out very slowly to ensure that the frame is not bent. Before proceeding, it is necessary to examine the frame and make sure there are no signs of damage or rot.
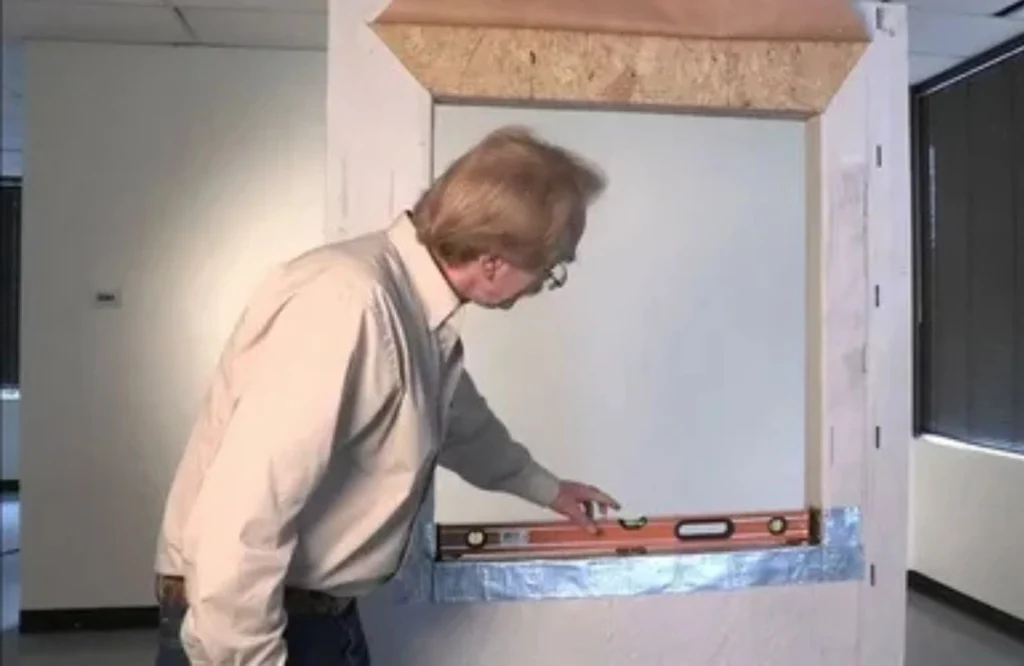
- Check and Prepare the Opening: Determine that there is a square and a level opening in the window. The problems in this case can influence the functioning of the window. Wipe the space down and ensure it is dry, then continue with the installation of the new window.
- Install the Window Dry: Before installing the new window in wall, you need to install it in the opening so that it will fit well. Carry out any modifications needed to prevent possible troubles in the process of sealing and finishing.
Sealing and Insulation To Create an Airtight Fit
- Apply Caulk: Lay a continuous piece of caulk around the perimeter of the window framing, where it will be meeting the exterior of the building. This also assists in establishing a tight weather strip and better insulation.
- Install Window: After inserting the window properly, screw it according to the instructions of the manufacturer along the sides of the frame. Take care against tightening too tightly, as this may bend the frame.
- Seal the Gaps: Fill the gaps between the wall and the frame with expanding foam insulation. This measure is important in stopping the drafts and making the space more energy efficient.
Trimming and Final Detailing
- Apply Interior Trim: When the window is installed and sealed, apply the interior trim. This not only improves the appearance of the window, but it also helps seal internal gaps.
- Caulking and Painting: Add a final bead of caulk to the surrounding of the window as an additional measure to protect against the elements. When dry paint on areas that you need to match the outside of your home.
How to Take Care of Your Vinyl Windows
Regular maintenance will keep your vinyl windows in good shape and ensure that they operate well and appear presentable. Wipe the frames and glasses and examine the seals and caulking every now and then in case they have worn out.
Conclusion
These steps, combined with the use of the high-quality vinyl windows, can guarantee you a new construction window installation of professional quality, which will make your home more comfortable and energy-efficient and look better on the outside.
Otherwise, leave the headache to it, and call Hitchcock Roofing and Construction so that the professionals of the industry can do it for you.
FAQs
My window does not open easily after the installation. What has happened?
The probable causes include frame distortion due to overdriven fasteners or non-square installation. Loosen fasteners, re-square shims, and make sure that the folds at the sash are symmetrical.
What is the appropriate sealant to be applied to vinyl windows?
Apply an exterior-grade and window and door rated silicone or hybrid STPE, which is flexible and is made to adhere to vinyl, flashing, and WRB.
Do I need to use a sill pan?
Yes, either a pre-generated pan or tape-built pan with a back dam is a best practice, and that usually must be done to retain the warranty. It diverts unintended water to the outside and eliminates the ability of moisture to get inside the wall assembly.