Have you ever looked at the trim of your place of residence and decided that this should be updated? Azek trim is the optimal choice for exterior molding. It does not decay easily and stays sharp-looking for years after installation. Not only is it a smart investment for your home’s curb appeal, but it also brings in significant functional benefits.
It repels insects and rain, and stands up to weather that would normally eat wood trim. This article focuses on the stepwise process of Azek installation for both DIYers and new professionals.
What Are Azek Trim Products?
Azek trim consists of cellular PVC, which is a plastic material that is super strong and requires low maintenance. It does not warp like wood, nor does it require painting every few years. Imagine a perfectly installed wood trimming, but without having to scrape off old paint or the usual struggle with termites.
Homeowners love this product for its 25-year or more factory finish that remains white. It is relatively easy to cut and handle, hence the first choice of many builders.It is also considered sustainable because it requires less maintenance. Different options and finishes are explained in choosing Azek trim products. This helps homeowners select what fits their style and needs.
Common Use Cases Around Your Home
Azek is the top choice in places where your regular wood trim would fall short, like wet spots or sunny exposures. It does well in seaside houses where the salt air is notorious for eating the wood.
Apply it to front porch railings or even house accents indoors, should you desire that sharp appearance. Combine it with the siding to have a professional finish. Azek can fit in whatever your choice of style is, from modern ranch to old colonial.
Stepwise Process of Installing Azek PVC Trim
This guide presupposes the availability of simple equipment and an assistant to help with larger projects. Wear protective equipment such as gloves and goggles all the time. We will divide the procedure into distinct steps.
Collect Your Supplies
To begin the job properly, you will have to have:
- Azek trim boards (the pro tip is to measure at least two times before cutting).
- Miter saw with fine-tooth blade
- Level and pencil
- Nails or stainless steel screws (galvanized is better)
- Construction adhesive
- Matching color PVC type Caulk
- 220-grit sandpaper
- primer in case you choose to paint afterward
In order to prepare the work area, wash the old trim using soap and water. After that, let everything dry fully before proceeding further.
Measure and Cut Your Pieces
Measuring accurately is the most important part of the whole process. Accuracy is the key here, no matter if it is a window, door, or anything else you are working on. Remember to add spacing of 1/16 inch for expansion gaps.
Install your miter saw at 45 degrees on corners. Cut the Azek trim board slowly to avoid chips. Miter one side of the inside corners, while for the outside ones, cope the profile with a coping saw. It is better to first test the pieces dry for fitting before applying glue.
Pro tip: Azek is similar to soft wood in cutting, but with less amount of dust. Keep vacuuming as you proceed.
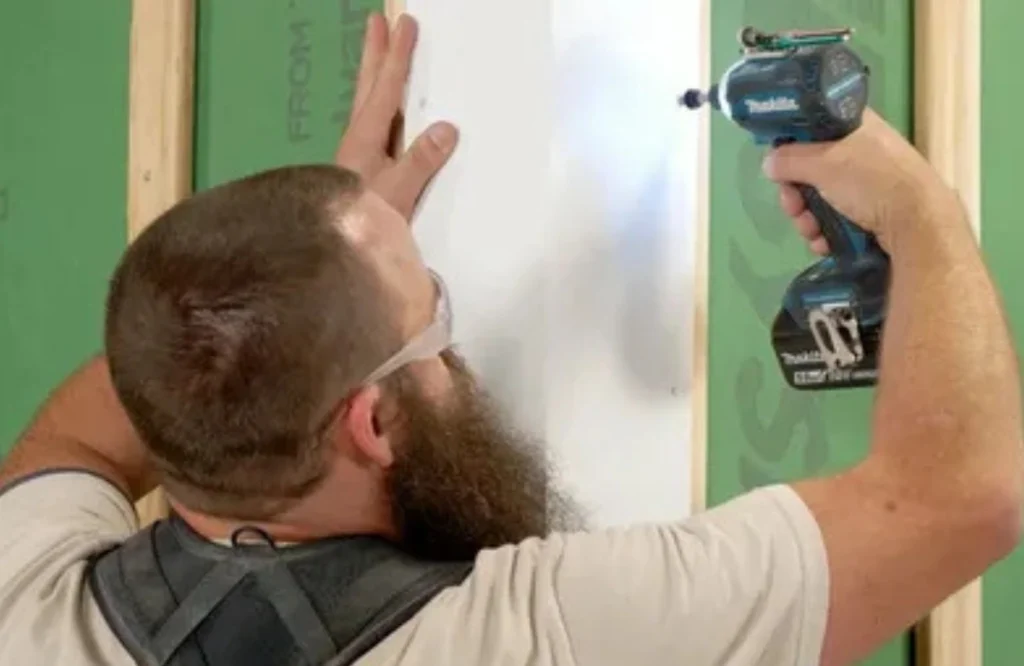
Line the Surface and Use Adhesive
Stick a strip of Azek adhesive on the back of the board pieces in a zig-zag-like pattern. Press firmly into place. Plumb it with your level straight up and down. Put in 2-inch nails every 16 inches beginning at the top, downwards.
Wipe excess glue right away and allow the pieces to dry for 24 hours prior to caulking.
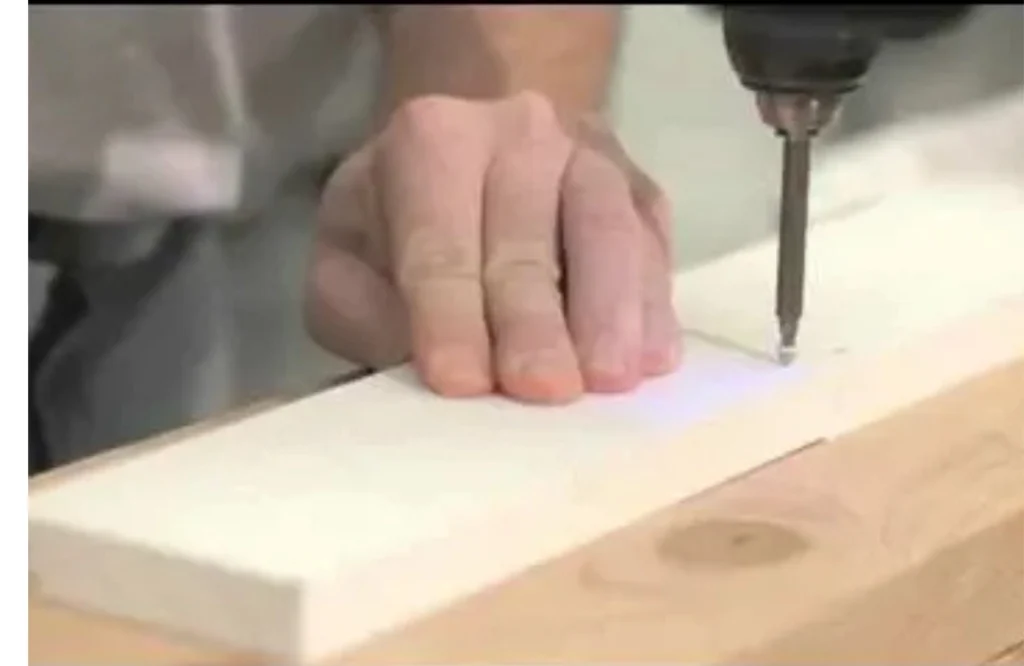
Secure Fastening and Handling Joints
Azek has a very easy time taking the nails, which is why no pre-drilling is necessary except when it is more than 1 inch thick. In screws, pilot holes are drilled to avoid splitting.
Butt joints? Scarf them at 45 degrees in order to strengthen them. With corners, miter, or make use of Azek corner blocks, as these can be snapped cleanly.
Finishing With Caulk and Sand (Also Paint Where Necessary)
Seal off any gaps and nail holes using PVC caulk and smooth it out with a wet finger. It bends with the trim, no cracks thereafter. Sand lightly afterward where you feel the need.
Azek usually comes with a coated finish, yet it can still be painted with 100 percent acrylic. Apply two coats of it with sand in between.
The Main Advantages of Azek Trim for Your House
Some of the major advantages of installing trim molding, cherished by most homeowners, include:
- No Rot or Bugs: Water runs away smoothly, and bugs despise it. This saves thousands in repairs future repairs.
- Zero Maintenance: You have the liberty to neglect staining and painting. Just hose it clean on a yearly basis.
- Waterproof: Has the ability to resist heat and rain without fading.
- Light and Durable: It carries half the weight of normal wood yet twice the life.
- Value Boost: Increase home resale by 5-10% with that new curb appeal.
Hitchcock Roofing and Construction put Azek on the bungalow of a client last summer. One year later, it still has a brand-new appearance while the wood trim of the neighbor withered away.
Expert Suggestions and Mishaps to Avoid
According to the most expert insights, here is what you need to follow:
- Work with these products in 80°F or lower, as the heat expansion can temporarily hide gaps and holes
- Score before cutting
- Having the right fasteners (galvanized or stainless steel) helps in rust management
- Pay special attention to flashing for diverting water
- Avoiding exposure to direct sunlight during glueing keeps the adhesive firm
Common mistakes to avoid are:
- Not using glue and relying solely on nails
- Fits that are too tight
- Below standard caulk
Conclusion
Azek trim is used to convert drab houses into eye catchers as it is rot-proof and easy to install. The above steps make it possible for both DIYers and professionals to do it right, from measuring cuts to the final caulk. By following them, your time and money will be saved, and you will be able to enjoy decades of low-maintenance beauty.
Ready to upgrade? Call Hitchcock Roofing and Construction now to have a fair quotation. Our professionals do Azek installation in ways no one else can.
FAQs
Is it possible to install Azek trim over wood?
Yes, that is quite possible, but scrape and sand the old wood and apply nails to fasten.
Does Azek trim need paint?
It does not need to be painted, but you can still coat it to have a personal color using acrylic paint.
How to cut Azek trim without chipping?
Score the line first on the Azek board with a blade of carbide. Saw slowly by carefully following the scoring.
Is Azek more costly than wood?
Yes, but it will go longer, and no maintenance is required- economics in the long run.