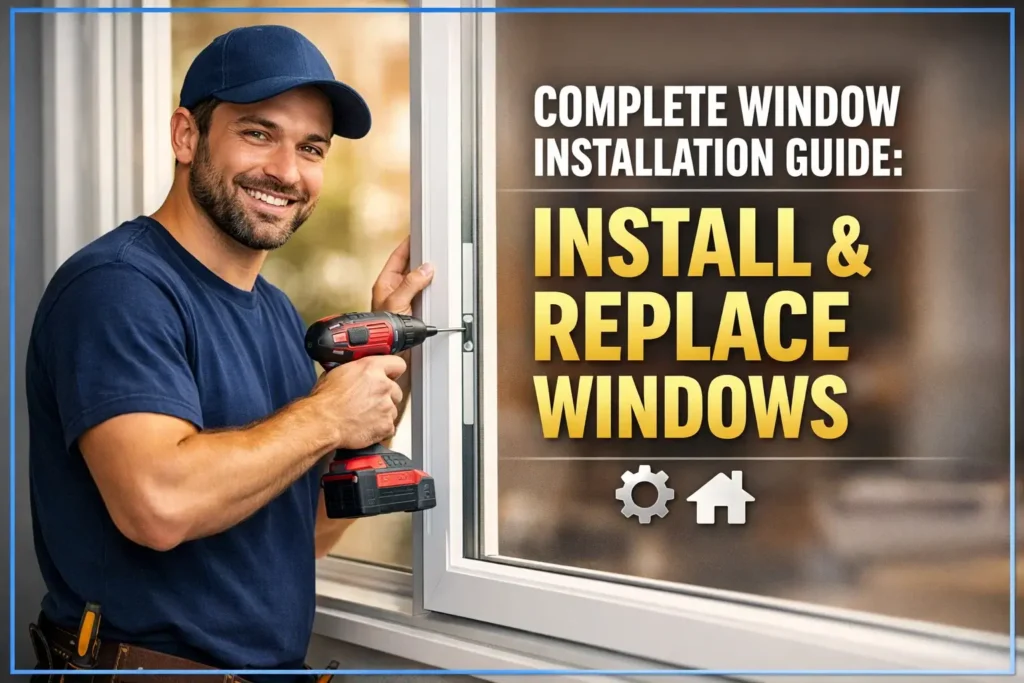
It is possible that you may have to spend money on replacing the windows in your house, but it will benefit by saving power, making the house prettier, and raising property value. Window installation and replacement is a daunting process that would not be handled properly without good guidance.
The following is a detailed guide, in which we will take you through the entire process of replacing a window, starting with the preparation and installation, and finishing with the post-installation care. With these steps, it is possible to make your window replacement project successful and smooth with a long-term positive payoff on your home.
The Importance of Installing a Window Properly
Proper installation of your windows affects the functionality and durability of these structures. Here’s why it matters:
- Energy Efficiency
- Home Security
- Weather Protection
- Aesthetics
- Longevity
Necessary Supplies & Equipment
You need to make the following supplies available before beginning the work:
- Measuring tape
- Pry bar
- Weatherproof sealant and caulking gun.
- Screwdriver and screws
- Level
- Utility knife
- Shims
- Insulation foam
- Safety glasses and gloves
Stepwise Process of How to Replace Windows
Installing windows can be a demanding task, but once you divide the project into small sections, you will have your new windows fitted within a short time. Now we will look into the specifics of each step.
Measuring the Opening
The key to proper installation of windows is proper measurements. Measure the width of the window at three points: the top, middle, and bottom with a measuring tape.
Do the same for the height at the left, center, and right sides. The smallest measure should always be taken in order for the fixture to fit well. Also, check the depth to ensure that the new window will fit in the frame comfortably.
Measurement helps avoid unnecessary spaces and provides a well-operating window after it is installed.
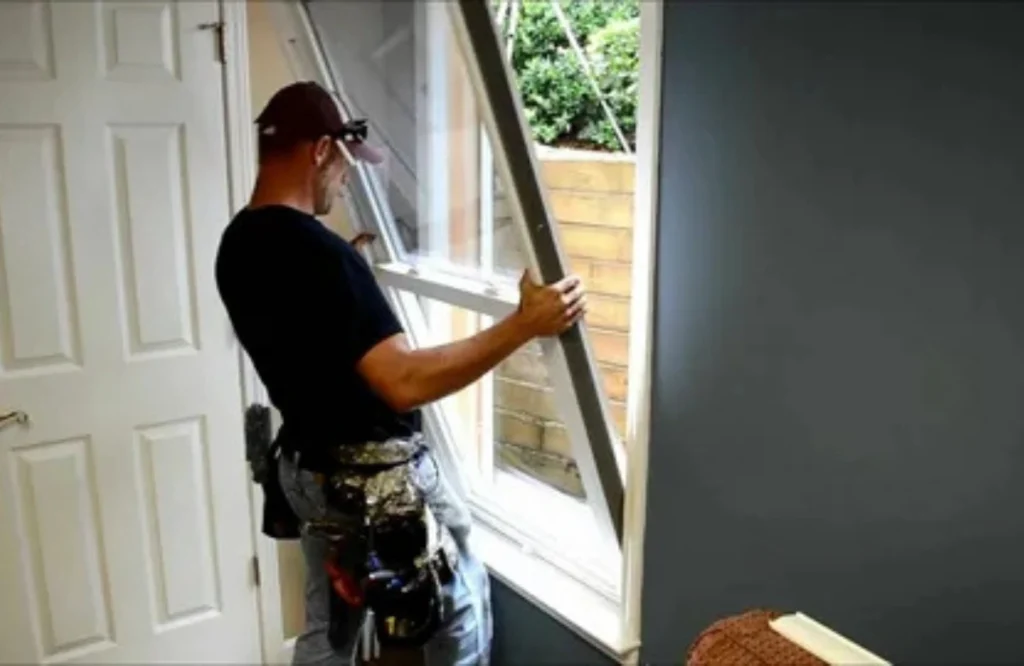
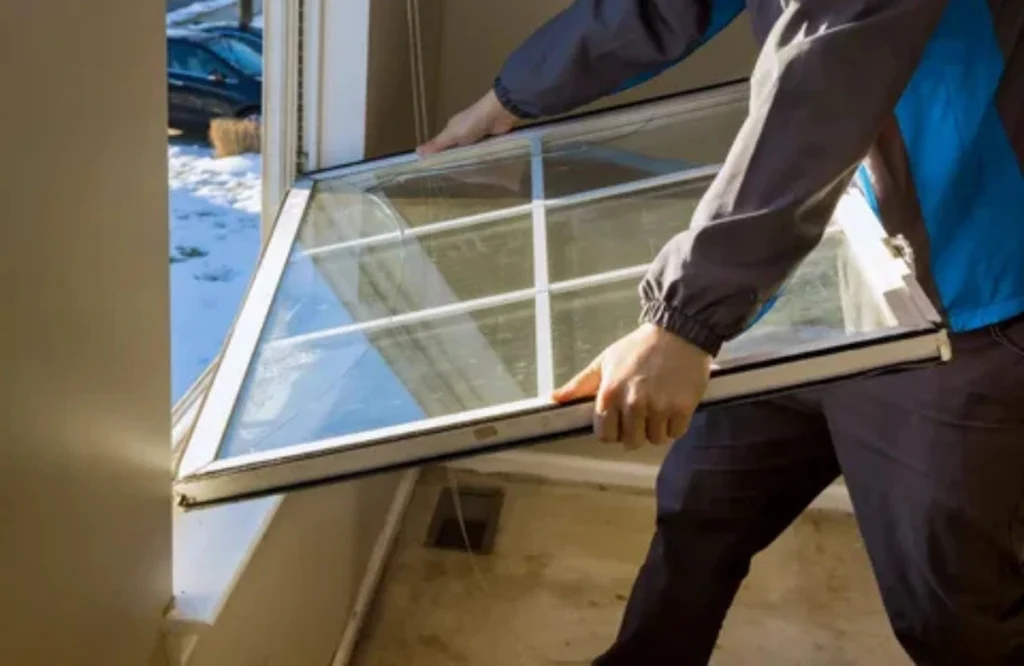
Remove the Old Window
The old window will have to be removed before the installation of the new one. Begin by removing a trim or sometimes a stop around the window with a pry bar. When the old window is painted shut, it is important to carefully put a utility knife at the edges to make the paint come through.
After removing the trim, unscrew the frame and sash of the old window with a screwdriver. Also, make sure that you wear safety glasses and gloves to shield against broken glass or sharp edges.
After the window is removed, clean the empty area and make sure to take away all the remaining debris, caulking, and nails so that you can install the new one.
Preparing the Opening for Installation
The opening will need to be level and square before installing replacement windows. A level should be used to determine if the top, bottom, and sides of the frame are straight.
In case of any uneven spots, rectify them with the help of shims. The shims are thin and wedge-shaped materials that are used to fill gaps to form a stable and leveled surface. Place the shims in strategic locations, including the bottom corners and the sides, to have a tight fit.
It is necessary to make sure that the window fits correctly and works by having a properly prepared opening.
Mounting New Frame
Then it is time to install a new window frame when the opening is ready. Frames should be carefully inserted into the frame and placed in the frame. Check your level once more to ensure that everything is in place.
In case of any adjustment, insert shims in the required places until the frame becomes absolutely square. When the alignment is complete, screw the frame in.
Install the screws on the top corners, then proceed to the bottom. It should not be so tight that it twists the frame from its intended position, which will interfere with the performance of the window.
Sealing and Insulation
The second thing that should be done once the frame is in place is to seal and insulate the window. Apply a strip of weatherproof sealant around the outer frame with a caulking gun. This forms a waterproof coating that blocks the percolation of moisture.
This should be followed by stuffing any cracks between the window frame and the frame and using insulation foam. The foam is inflated to seal drafts and enhance energy conservation.
After the foam has settled down, add another layer of sealant (when necessary), and wipe it with a wet finger or object to a smooth finish.
Trim Reinstallation and Performance Testing
The last thing is the reinstallation of the interior and exterior trim. Align the trim pieces and fix them with screws or nails. This makes it look good as well as contributes to the security of the window.
After adjusting the trim, reconnecting it whatsoever is necessary, check the window by opening and closing it a few times. Make sure that it is running well and locking.
Lastly, ensure that there are no air leaks by passing your hand along the sides. When it is all tight, rest assured that you know how to replace a window now, the right way. Take the dust and smudges off the glass and frame to start enjoying your new window.
Routine Maintenance (Care After Setting Up)
In order to increase the life of your new replacement windows, do routine maintenance when necessary. Check the window on a regular basis to determine whether there is any damage or wear, and take action on the same. Clean and lubricate the window tracks and moving parts, and check the caulking and weather-stripping periodically to be sure there is nothing wrong going on.
How Can You Benefit From Hitchcock Roofing and Construction?
Our experts know how to install replacement windows, and they can make the whole process easy and trouble-free for you. Here’s how we can help:
- Professional Installation: Our professionals make sure that all the windows are perfect and the functions are smooth.
- Expert Advice: We will assist you in choosing the most appropriate windows that fit your house and budget.
- Energy Saving: Energy costs are saved both in winter and summer by our efficient installation methods of premium windows.
Set your appointment with us today and have brilliantly installed windows!
Conclusion
Although Window installation might be difficult, it can be achieved with the help of the right equipment, the given instructions, and a little patience. With these, you will be able to accomplish a fulfilling DIY project that will add comfort and value to your home.
Hitchcock Roofing and Construction can assist homeowners in securing professional results without much effort on their part. Call us now in order to make your appointment and have beautiful, professionally installed windows in your home!
FAQs
What tools do you need to put in windows?
Before you start, make sure you have a level, a caulk gun, a utility knife, a hammer, shims, a drill, and flashing tape. These basics help you measure and secure new or replacement windows.
How do you get the opening ready for a new window?
Cut the house wrap into an X or an inverted V shape, and then put flashing tape on the sides and sill. Then, to make sure it’s airtight, caulk the edges.
What are the most important steps for locking and sealing the window?
Put the window in with the bottom facing down, center it with shims, and drive galvanized nails or screws through the flange and into the studs every 12 to 16 inches. Use a smooth caulk to cover the edges and check to see if it works.